Crafting Your Own Cosmetics: A Guide to Personalized Beauty
Related Articles: Crafting Your Own Cosmetics: A Guide to Personalized Beauty
Introduction
In this auspicious occasion, we are delighted to delve into the intriguing topic related to Crafting Your Own Cosmetics: A Guide to Personalized Beauty. Let’s weave interesting information and offer fresh perspectives to the readers.
Table of Content
Crafting Your Own Cosmetics: A Guide to Personalized Beauty

The allure of crafting one’s own cosmetics lies in the ability to control ingredients, tailor formulations to specific needs, and express personal creativity. While commercially available makeup offers convenience, the desire for personalized beauty solutions and a deeper understanding of ingredients drives many to explore DIY cosmetics. This guide delves into the process of creating your own makeup products, encompassing safety considerations, ingredient selection, formulation techniques, and essential equipment.
Understanding the Basics: A Primer on Cosmetic Science
Before embarking on the journey of DIY cosmetics, a foundational understanding of cosmetic science is crucial. Cosmetics are formulated to interact with the skin, requiring careful consideration of ingredients and their properties. Key concepts to grasp include:
- Emulsions: These are mixtures of oil and water, stabilized by emulsifiers. Emulsions form the basis of many cosmetic products, such as creams, lotions, and foundations.
- Viscosity: This refers to a product’s thickness or resistance to flow. It influences application and texture.
- pH: The pH scale measures acidity or alkalinity. Cosmetics should have a pH compatible with the skin’s natural pH (around 4.5 to 5.5) to minimize irritation.
- Preservation: Cosmetic formulations are susceptible to microbial growth. Preservatives are essential to prevent spoilage and ensure product safety.
Essential Equipment for the Home Chemist
Equipped with the right tools, the creation of your own cosmetics becomes a manageable process. The following equipment is recommended for basic formulations:
- Measuring tools: Accurate measurement is paramount in cosmetics. Invest in a digital scale for precise weighing of ingredients and graduated cylinders for measuring liquids.
- Mixing vessels: Glass or stainless steel bowls and beakers are ideal for mixing ingredients.
- Heating and cooling devices: A double boiler or a heat-resistant glass bowl placed over a pot of simmering water is useful for gentle heating. A refrigerator is necessary for cooling and storing certain ingredients and formulations.
- Blenders and mixers: A handheld blender or immersion blender is helpful for creating smooth emulsions.
- Sieves and strainers: These are useful for removing lumps and ensuring a smooth texture.
- Containers: Sterile jars, bottles, and tubes are essential for storing your finished products.
- Safety gear: Gloves, a mask, and safety goggles are crucial for protecting yourself from potential irritants or allergens.
Ingredient Selection: The Heart of Your Formula
Ingredient selection is the cornerstone of successful DIY cosmetics. Here’s a breakdown of common ingredients and their roles:
- Oils: Oils provide emollience, moisturization, and texture. Examples include jojoba oil, argan oil, coconut oil, and almond oil.
- Butters: Butters offer rich emollience and texture. Examples include shea butter, cocoa butter, and mango butter.
- Waxes: Waxes provide structure, viscosity, and emulsification. Examples include beeswax, candelilla wax, and carnauba wax.
- Emulsifiers: Emulsifiers stabilize oil and water mixtures, creating smooth creams and lotions. Examples include lecithin, polysorbate 80, and cetyl alcohol.
- Humectants: Humectants attract and retain moisture, keeping skin hydrated. Examples include glycerin, hyaluronic acid, and aloe vera gel.
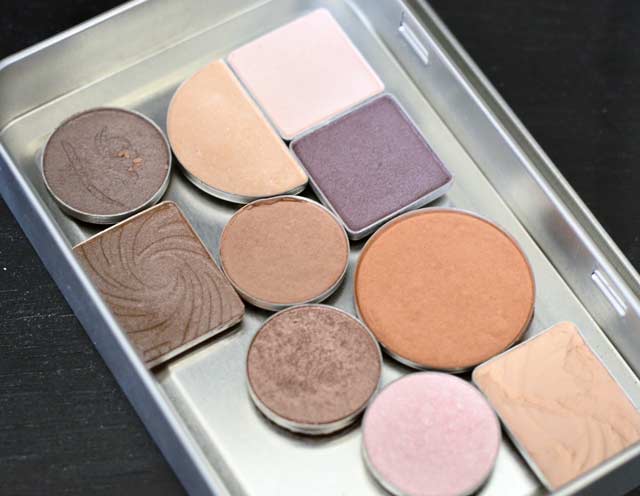
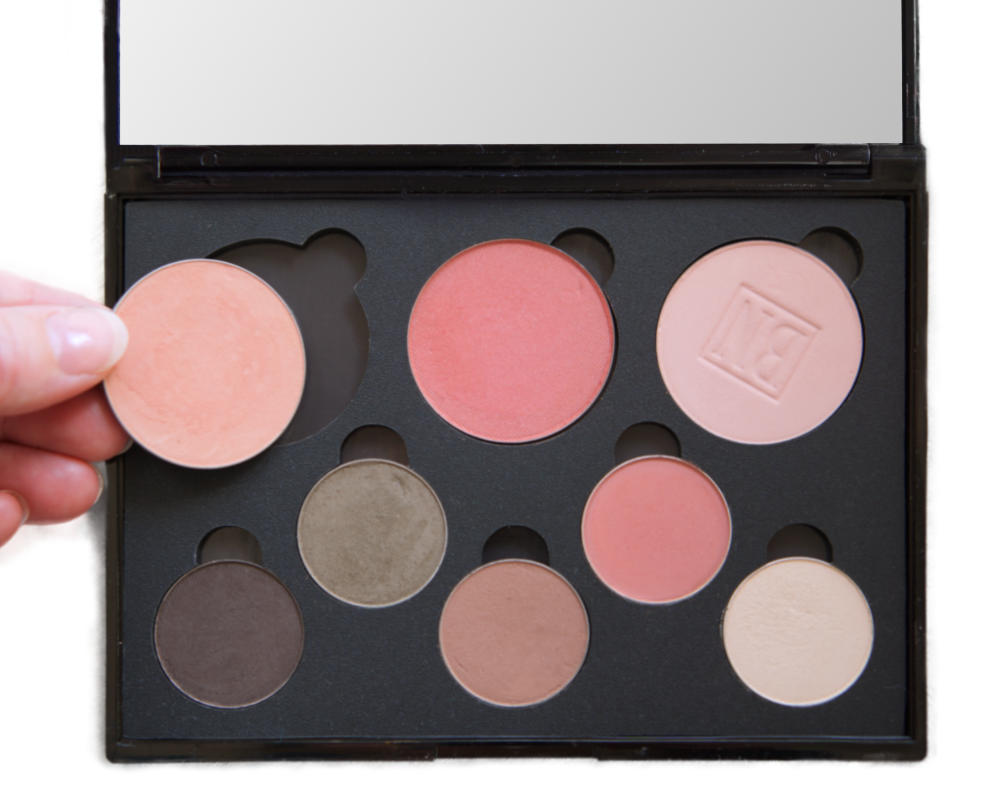
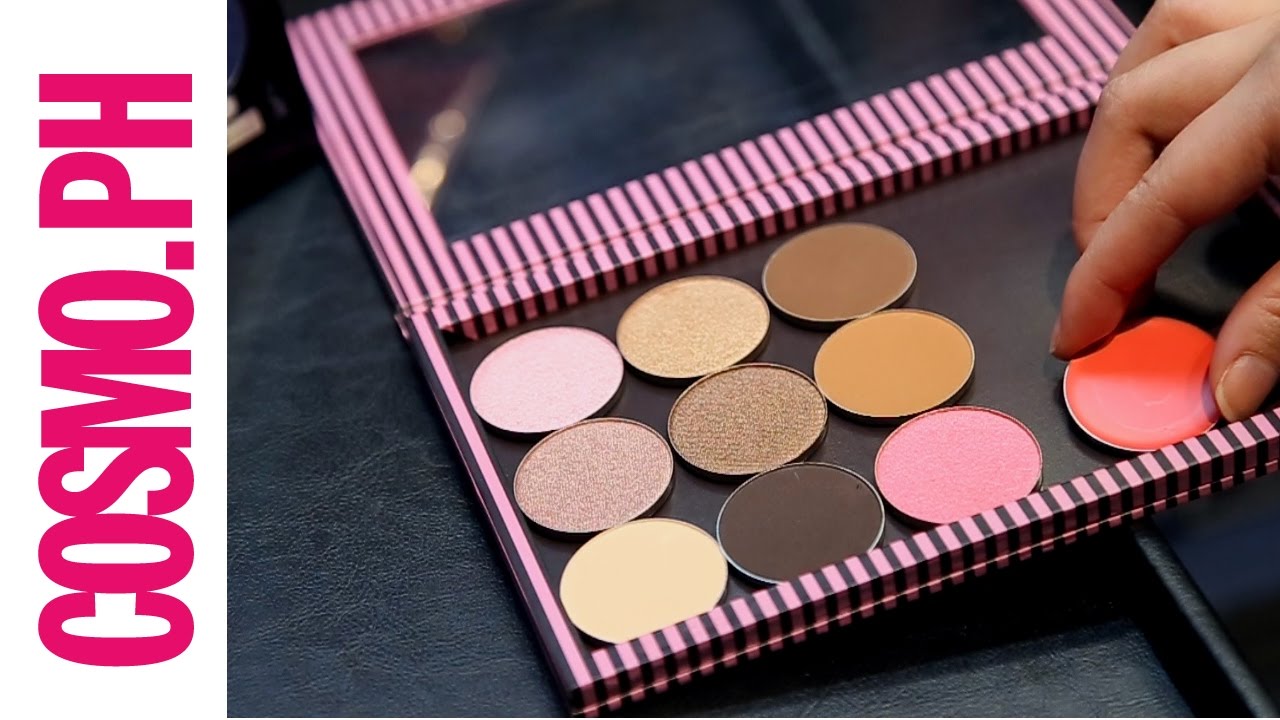
- Pigments: Pigments provide color to makeup products. Examples include iron oxides, mica, and titanium dioxide.
- Preservatives: Preservatives prevent microbial growth in cosmetic formulations. Examples include phenoxyethanol, benzyl alcohol, and sorbic acid.
Formulating Your Own Makeup: A Step-by-Step Guide
The following steps outline the process of creating a basic DIY cosmetic product:
- Determine your product: Decide on the type of cosmetic you wish to create, for example, a lip balm, a cream blush, or a foundation.
- Research and select ingredients: Consult reliable resources for recipes and information on ingredient properties. Choose ingredients that are compatible with your skin type and desired product characteristics.
- Calculate ingredient proportions: Based on your chosen recipe, accurately weigh and measure each ingredient.
- Prepare your equipment: Clean and sterilize all equipment to prevent contamination.
- Combine ingredients: Follow the specific instructions of your recipe, carefully combining ingredients in the correct order and temperature.
- Mix and blend: Use appropriate tools to blend and emulsify ingredients until a smooth, consistent texture is achieved.
- Adjust consistency: If necessary, add more oil or wax to adjust the viscosity of the product.
- Test the pH: Use pH strips to check the pH of your formulation and adjust it as needed.
- Add preservatives: Include a suitable preservative according to the recipe and your chosen ingredients.
- Cool and store: Allow the product to cool completely before transferring it to sterile containers for storage.
Safety Considerations: A Priority in DIY Cosmetics
Safety is paramount when creating your own cosmetics. Here are key considerations:
- Ingredient purity: Source ingredients from reputable suppliers specializing in cosmetic-grade materials.
- Allergy testing: Before applying any homemade product to your face, conduct a patch test on a small area of skin to check for any allergic reactions.
- Storage and handling: Store your homemade cosmetics in a cool, dark place to preserve their quality and prevent spoilage.
- Expiration dates: Label your products with an expiration date to ensure their safety and efficacy.
- Avoid using essential oils: While essential oils can be used in cosmetics, they can be potent and potentially irritating to the skin. Unless you have specific knowledge of their safe use in cosmetics, it’s best to avoid them.
FAQs: Addressing Common Concerns
Q: How do I find reliable recipes for DIY cosmetics?
A: Reputable sources for DIY cosmetic recipes include books by experienced formulators, websites dedicated to natural cosmetics, and online communities focused on DIY beauty.
Q: What is the best way to sterilize equipment?
A: Boiling equipment in water for 10 minutes is an effective sterilization method. You can also use an autoclave if available.
Q: Can I use household ingredients in my DIY cosmetics?
A: While some household ingredients, like honey or aloe vera, are safe for cosmetic use, it’s crucial to research their properties and suitability for your specific formulation. Avoid using ingredients with unknown properties or potential irritants.
Q: How long do homemade cosmetics last?
A: The shelf life of homemade cosmetics varies depending on the ingredients and preservation methods used. Properly formulated and stored products can last for several months, but it’s always best to follow the recommended expiration dates.
Q: What are the benefits of making my own cosmetics?
A: Crafting your own cosmetics offers several benefits, including:
- Personalized formulations: You can tailor ingredients and proportions to address specific skin needs.
- Ingredient control: You can choose natural and organic ingredients, avoiding potentially harmful chemicals.
- Cost savings: Making your own cosmetics can be more cost-effective than purchasing commercial products.
- Creative expression: DIY cosmetics allow you to experiment with different colors, textures, and scents.
Tips for Successful DIY Cosmetics
- Start simple: Begin with basic formulations like lip balms or body butters before moving onto more complex products.
- Document your recipes: Keep detailed notes of your formulations and any adjustments you make to ensure consistency.
- Experiment gradually: Make small batches of your products initially to avoid wasting ingredients or creating large quantities of a product you may not like.
- Be patient: Crafting your own cosmetics requires time, practice, and attention to detail.
Conclusion: Embracing the Journey of Personalized Beauty
Creating your own cosmetics is a rewarding endeavor that empowers you to take control of your beauty routine. By understanding the basics of cosmetic science, selecting high-quality ingredients, and following safe practices, you can craft personalized beauty solutions that cater to your unique needs and preferences. As you delve into the world of DIY cosmetics, remember that the journey is as important as the destination. Embrace the process of experimentation, learning, and refining your formulations to create a personalized beauty experience that reflects your individual style and aspirations.


Closure
Thus, we hope this article has provided valuable insights into Crafting Your Own Cosmetics: A Guide to Personalized Beauty. We appreciate your attention to our article. See you in our next article!